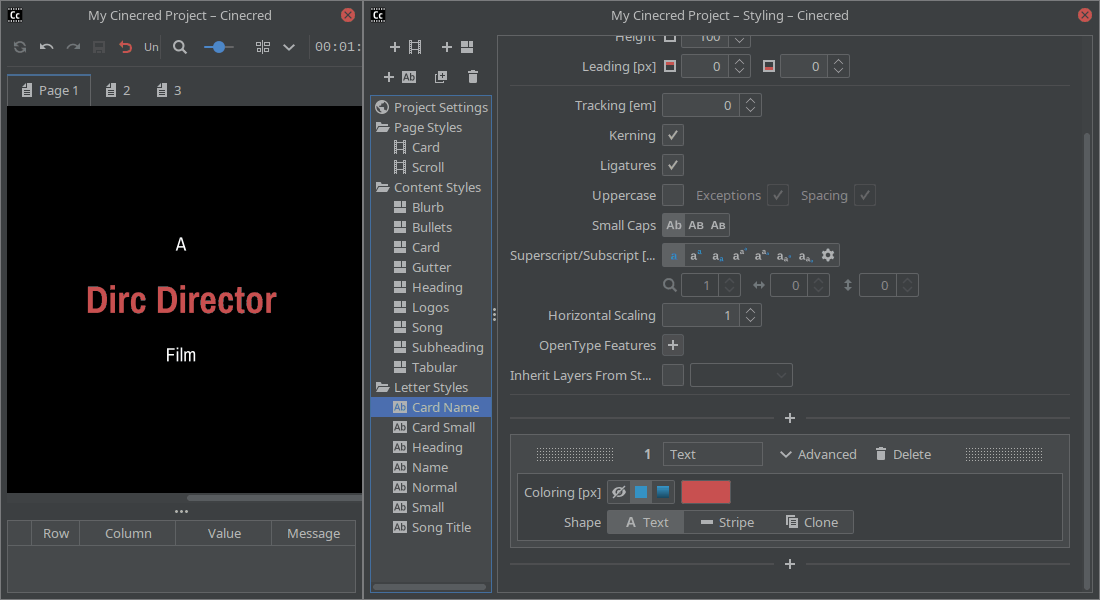
7.1. Layers
The coloring, background, underline, and other visual properties of text are controlled by a stack of layers.
Each layer defines a shape and a coloring to fill the shape with. Layers are drawn from bottom to top. Use the plus buttons to insert new layers. Drag the layers around to reorder them. Use the Delete buttons to remove layers.
We recommend to name each layer, so you can quickly find your way later on. It also helps that most layer settings are hidden behind the Advanced button.
Inherit Layers From Style
If two letter styles should share the same visuals, do not just duplicate the layer stack, but instead use this setting in one of the styles to automatically take on the other style’s stack. This not only shelters you from manually having to keep two stacks in sync, but also causes neighboring segments of text to be considered as one piece:
| @Head | @Body | @Tail |
|---|---|---|
| {{Style One}}Lorem{{Style}} ipsum {{Style One}}dolor |

Coloring
This setting defines how to fill the layer’s shape. Both a solid color and a gradient are supported. A gradient has two or more colors, an angle, a distance between the extremal colors, and a shift of the entire gradient along the gradient axis. You can further choose between Oklab interpolation, which looks natural and aesthetically pleasing, and sRGB, which used to be the de-facto standard on computers. Finally, the layer may also be turned invisible, which can be useful when composing shapes via cloning.

Shape: Text
When the Shape setting is set to “Text”, the layer’s shape comprises the text’s letters.

Shape: Stripe
When the Shape setting is set to “Stripe”, the layer’s shape comprises a stripe that runs along the entire length of the text. The stripe can be positioned and customized with the following settings.

Preset
This setting defines the thickness and position of the stripe. You can either enter custom values, create a background that covers the entire font height, or create an underline or strikethrough line as envisioned by the font designer.

Widening
This setting prolongs the stripe further to the left or right, beyond the border of the text. Backgrounds can additionally be extended to the top or bottom. Shortening is also possible.

Corners
This setting rounds or bevels the four corners of the stripe.

Dash Pattern
This setting enables horizontal dashing of the stripe. It defines a sequence of numbers, which when repeated gives a sequence of dash and gap lengths. For example:
- Entering a single number “10” leads to 10 pixel wide dashes, separated by 10 pixel wide gaps.
- Entering two numbers “10” and “20” leads to 10 pixel wide dashes, separated by 20 pixel wide gaps.
- Entering three numbers “10”, “20”, and “30” leads to a slightly irregular pattern: A 10 pixel wide dash, followed by a 20 pixel wide gap, followed by a 30 pixel wide dash, followed by a 10 pixel wide gap, and so on.

Shape: Clone
When the Shape setting is set to “Clone”, the layer’s shape comprises the shapes of a selection of other layers. Together with the Offset setting, such layers can be useful for creating drop shadows, among other things.

Dilation
This setting grows the layer’s shape on all sides. It can be useful for creating a glow, halo, or non-offset drop shadow behind the text, among other things.

Contour
This setting replaces the layer’s shape with its outline. The thickness and corner style can be customized.

Offset/Scaling/Shearing
These transformation settings move, scale, or shear the layer’s shape. They do not affect the text box. Movement can be specified in Cartesian (x & y) or polar (angle & distance) coordinates.
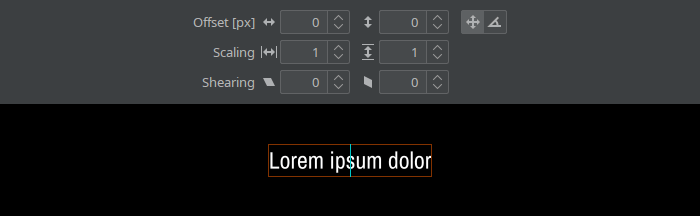
Scale/Shear Anchor
When scaling or shearing a shape, it’s ambiguous around which point the transformation should happen. This setting lets you choose that point:
- “Individual”: The transformations happens around the center of the shape.
- “Global”: The transformation happens around the center of the text box.

For Clone layers with more than one cloned shape, a third option is available:
- “Sibling Layer”: The transformation happens around the center of one of the cloned shapes; you choose which one. Be aware that Clone layers can’t be selected here.

Clear Around Layers
This setting pokes holes into the layer’s shape by cutting out the shapes of other layers. Increasing the radius additionally cuts out a gap around the other layers. The corner style can be customized.
This setting could for example be used to clear an underline around letters like q that reach below the baseline.

Blur Radius
This setting blurs the entire layer using a Gaussian blur. Be aware that very high radii can hurt performance.
